- 7 channels
- 100 W per channel of continuous power
- Play Music from a flash drive or USB hard disk drive
- Internet radio
- Anthem Room Correction (ARC)
- A very beefy amp – more ‘real’ power than the competition!
- Dual-processor audio DSP
- Video Conversion from Composite Video and Component Video to HDMI
- Scaling up to 1080p60
- 1080p24 mode
- Dolby Volume
- AM/FM Tuner
- 3D Support via software upgrade
Anthem MRX 500 7.1 A/V RECEIVER
RM 3,399.00
Description
Design of the Anthem MRX 500 7.1 A/V Receiver
As with each of the three Anthem receivers, the MRX 500 is a 3d-ready 2- zone 7-channel surround receiver. Anthem originally planned to release a massive 9-channel receiver, the MRX 900, but that project has been cancelled due to the market realities for that size and class of surround receiver.
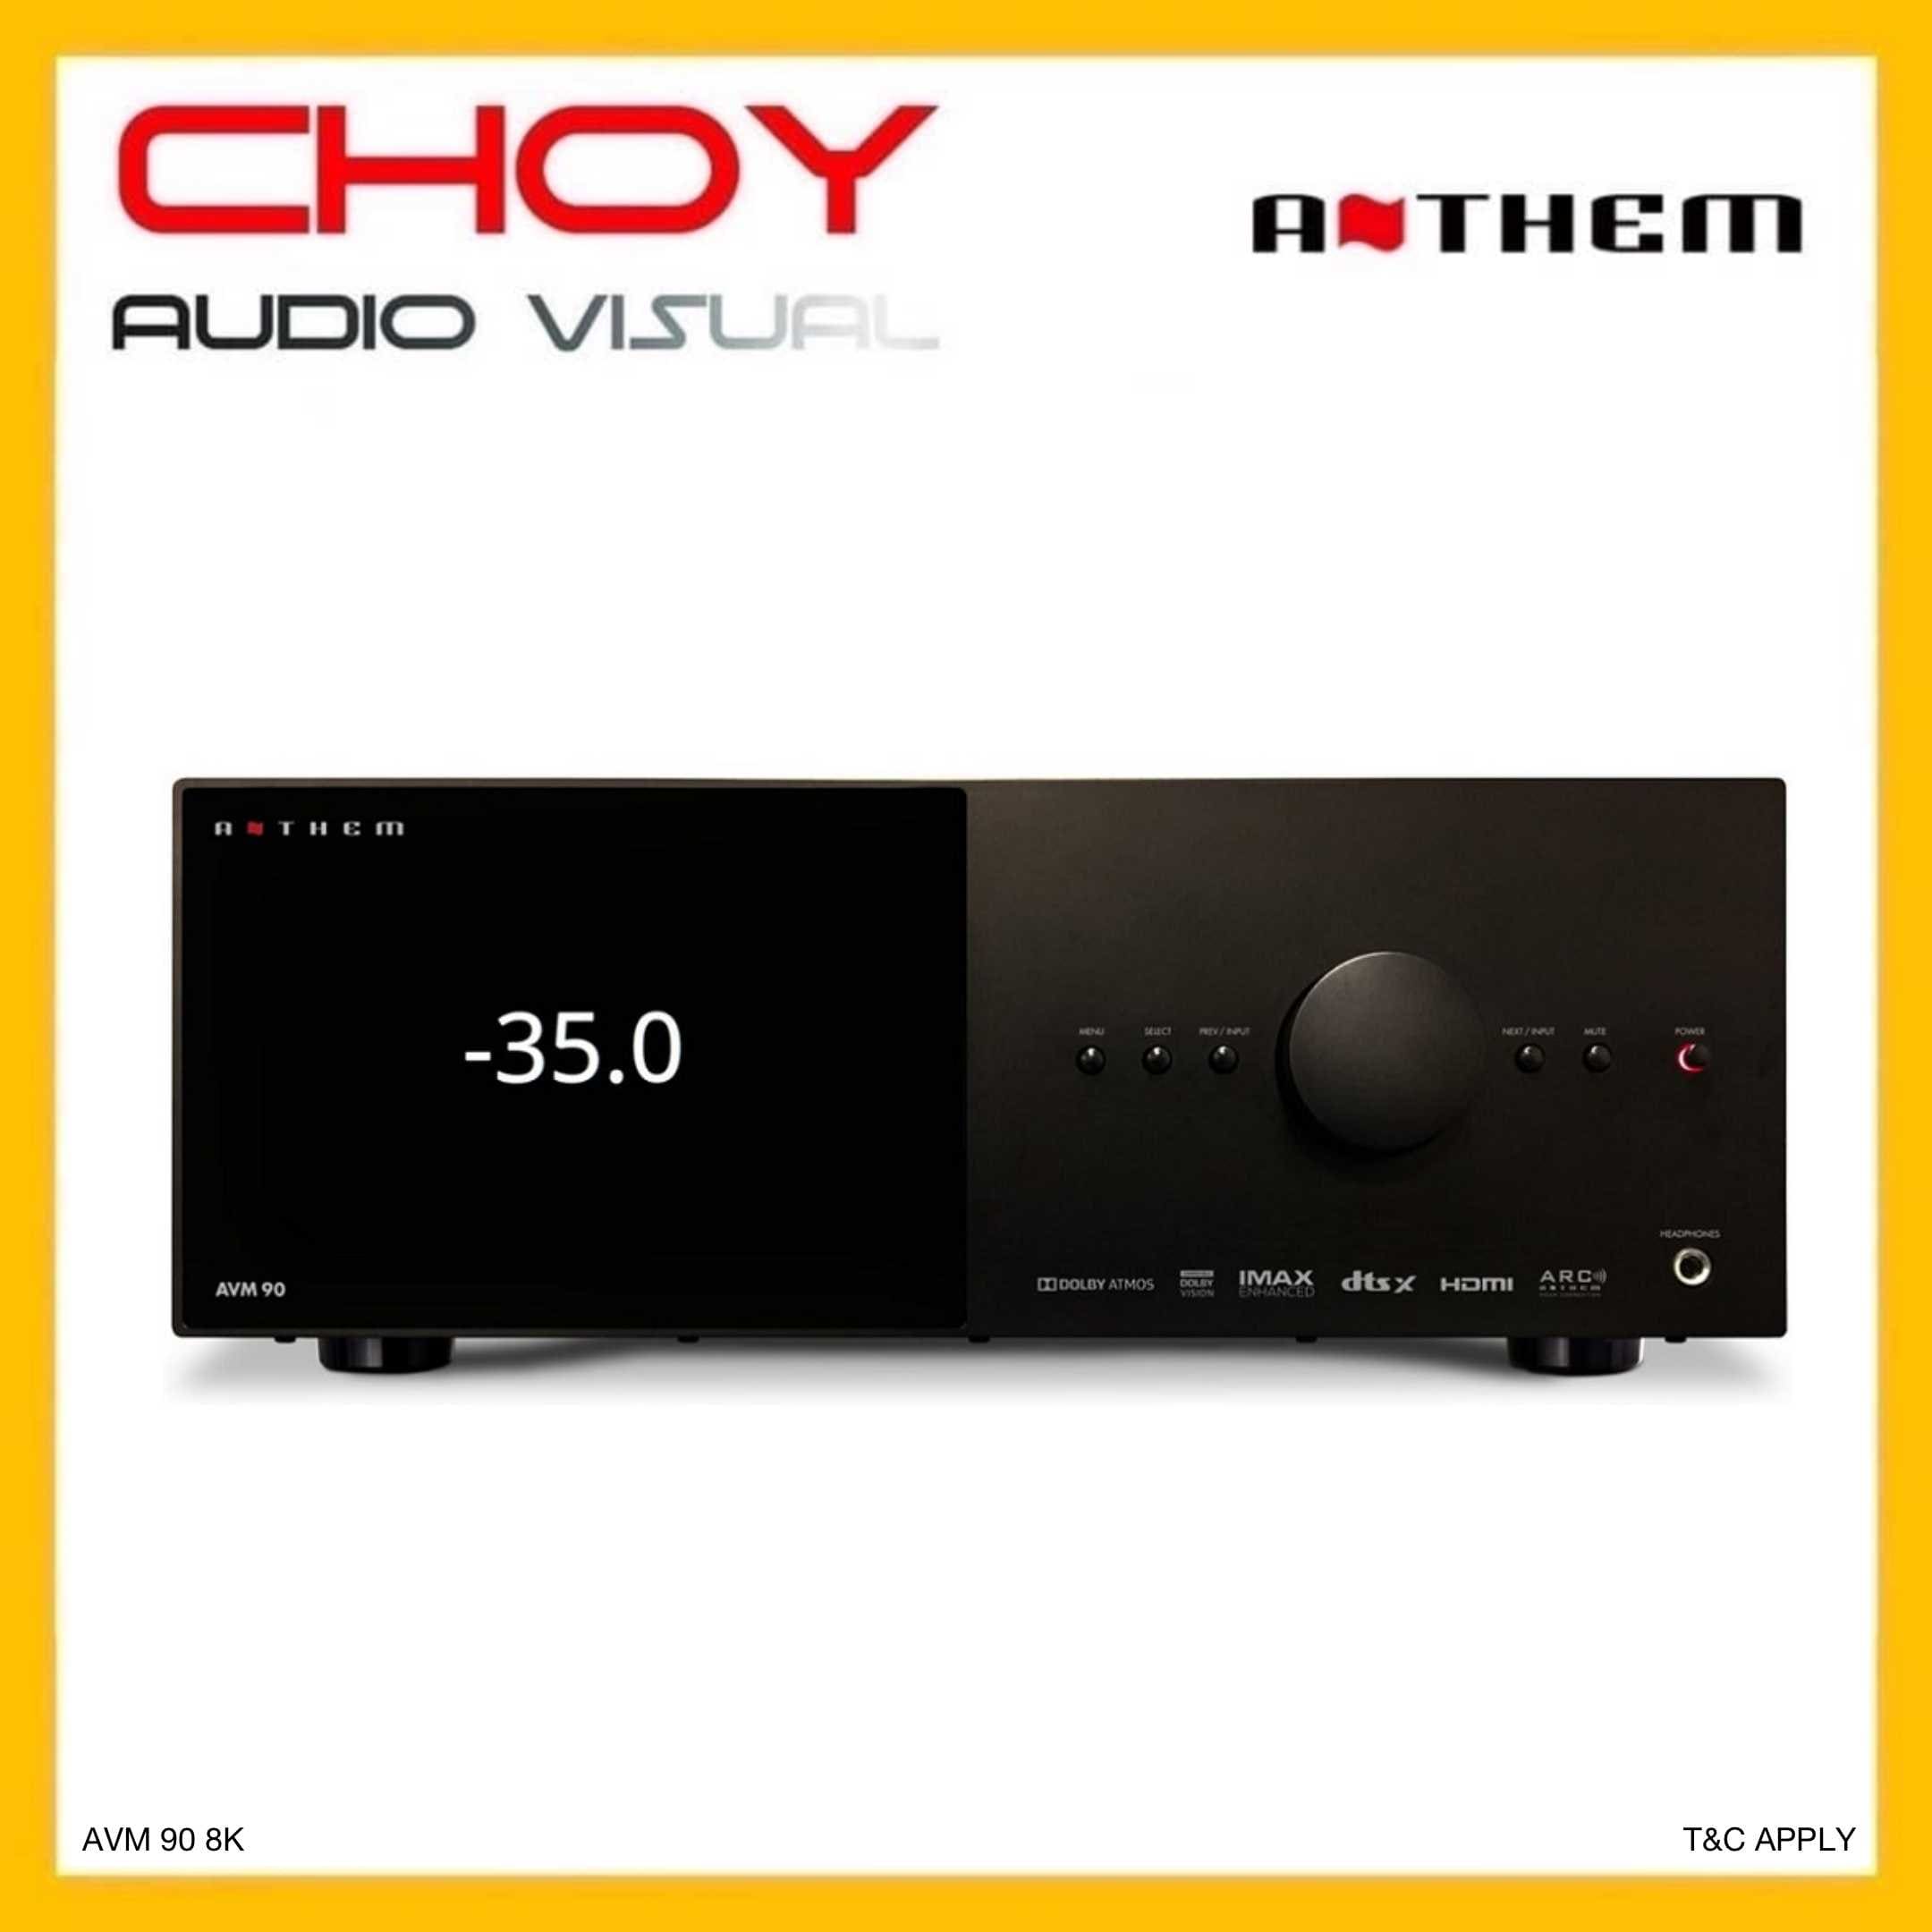
To start things off, I want to emphasize that the MRX 500 embodies Anthem’s legendarily solid and masculine build quality. The case has a sturdy heft with a textured finish while the front panel is a substantial brushed aluminum affair with a two-line dot matrix display.
The transformer design in the MRX 500 is an iron core EI transformer as opposed to the lower-noise torroidal design found in the MRX 700. There was no noticeable transformer hum in any of the auditioning I did with the Anthem MRX 500. Also, I bench tested the MRX 500 and the results were almost identical to the test plots that Robert Kozel posted in his review of the MRX 700, despite the different transformer designs. Clicking on this link will bring up the bench test results of the MRX 700
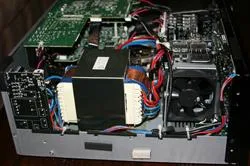
This image shows the outlet side of the cooling tunnel. There are 2 large output devices for each channel of amplification. Also, unlike the sparsely populated cases of mass market receivers, the MRX 500 case is literally packed with goodness, contributing immensely to its mass and solid build quality.
The MRX 500 does not have HD radio or RDS as found in the MRX 700. There is old-school analog AM/FM as well as internet radio using vTuner for those who favor quantity over quality. I personally use internet radio only for background music. As with the MRX 700, the MRX 500’s internet radio is via Ethernet only, however you could run out and purchase a wireless bridge if you wish to connect to the internet via Wi-Fi.
The MRX 500 has a dual processor dsp circuit that includes the heralded Anthem Logic listening modes along with the full suite of Dolby and DTS modes. There are front and rear USB inputs for playing music libraries off your flash drives or external hard drives. Cover art, when available, is displayed on your TV during playback. The MRX 500 is compatible with the soon-to-be-released Anthem MDX 1 iPod dock via a proprietary rear-panel connection.
There are two things on the audio side that are not included – a phono stage and multi-channel analog inputs. I don’t see these omissions as a major problem in this day and age, but many prospective buyers may have an issue with the exclusion of either or both of these. I personally have an SACD player with good internal DAC’s that I did not use with the MRX 500. But my Oppo BDP 83 SE sounded great playing SACD’s through the MRX 500. For vinyl, I have a Parasound JC-3 phono preamp so I had no issues enjoying my vinyl collection during the review period.
The Anthem MRX 500 includes Dolby Volume which I do not use very often. Since the MRX 500 is not THX certified nor does it have Audyssey room correction there is no Dolby Loudness control/Dynamic EQ which I often use. And my family loves Dolby Loudness even though they don’t know that it is typically engaged on our system or that it even exists for that matter.
On vinyl and other stereo sources, I tried the Anthem Logic music mode, but preferred the Dolby Pro Logic II music mode due to its inclusion of the center speaker. This is due mostly to the wide spacing I use for the main speakers when I have plans to use my front projector. Consequently, I did adjust the DPL II panorama, dimension and center width controls and found that the MRX 500 had no on-screen adjustment for this. The adjustments must be done via the front panel display. This wasn’t a major issue, but it was not very convenient as the Anthem receiver sat in an enclosed cabinet at the back of my theater.
On the video side of things, the MRX 500 is 3d-ready. I have not made the leap to 3d (yet) so I was not able to test this capability for myself. This receiver has a single HDMI output on the rear panel. I like a second HDMI out whenever possible as the HDMI splitter I have sometimes doesn’t play nice with receivers. The MRX 500 does not have a front panel HDMI input. Front-panel HDMI inputs are useful primarily so that my kids can get a crack at playing video games on the big rig until I send them packing to their own rooms with their gaming rigs in tow.
The included Genesis Torino video processor didn’t pass all the tests run by Robert Kozel. In actual practice, though, I thought the subjective performance of the video section was more than passable and even bested a number of other receivers I’ve had in my system over the years. I could happily live with the video performance I saw. Bear in mind that I didn’t use any analog video sources and it is in the MRX series transcoding of analog to HDMI where many of the very rigorous bench tests fell short of a passing score.
Kudos goes to the sliding panel that hides/reveals the front-panel inputs. It slides this way and that to show or hide the connections. I like this so much more than the detachable little plastic covers that disappear after the first few uses only to turn up several months later when you move a bookcase and discover that they suffered the dismal fate of having become a chew toy for one of your free-ranging house pets.
The MRX 500 comes with the same pair of remotes as the MRX 700. One is a full-function backlit model and the other is a smaller non-backlit device for the second zone.
Setup of the Anthem MRX 500 7.1 A/V Receiver
The time has come to setup the MRX 500. Although it doesn’t have all the connectivity options some people would like, this does make for a refreshingly uncluttered back panel. It is particularly easy to read the labels on the various inputs and outputs. And, likewise, the spacing of the jacks is similarly wide enough to allow the use of premium connectors. Thank you, Anthem.
Now then, the pièce de résistance of the Anthem receiver line is the inclusion of a complete Anthem Room Correction (ARC) system. As with all Anthem ARC systems, the one included with the MRX receivers comes complete with a set up disc and a high quality USB electret condenser microphone with a serialized microphone compensation file on the disc. It also includes a decent quality boom-style microphone stand.
All you need to provide is a computer to run the set up system. The mic connects to an available USB jack while the computer communicates with the MRX 500 via an RS 232 serial connection. I used a tower with my display as the monitor. So the serial connection to the receiver worked flawlessly. If you want to use a laptop, you can get a serial to USB adapter at your local PC supply house.
This ARC system isn’t quite the same as the one Anthem builds into their Statement D2 or AVM 50v Preamp Processors. The ARC systems in the MRX receivers have less processing power than the systems included with Anthem’s separate Pre-Pros. Likewise, the correction range is from 5 kHz and down while the more expensive systems operate out to a limit of 20 kHz. Despite all that, I found the performance of the ARC system bundled with the Anthem MRX 500 to be much better than the common room correction systems that are included with a number of mass market receivers I have tried.

Running the ARC system is a little more intensive of an operation than running Audyssey or the proprietary systems from Pioneer, NAD, H/K, Yamaha, etc. but it provides so much more flexibility for custom controls and visualizing the results of your work. Unlike lesser systems, the ARC system nailed the crossover and level for every speaker system I tried. It doesn’t automatically set the distance due to the uncertainty over actual latency of the PC in use. You need to use a tape measure to manually set the distance of each speaker.
On the EQ side of things, I was impressed how closely ARC’s measurements of the speaker response corresponded with measurements I made using my reference speaker testing set up. It also provided very effective frequency smoothing in relation to the target curve. You can define your own custom target curves and you can tailor the bass management to movie or music listening. The preferred bass management is selectable by source in the set up menu.


